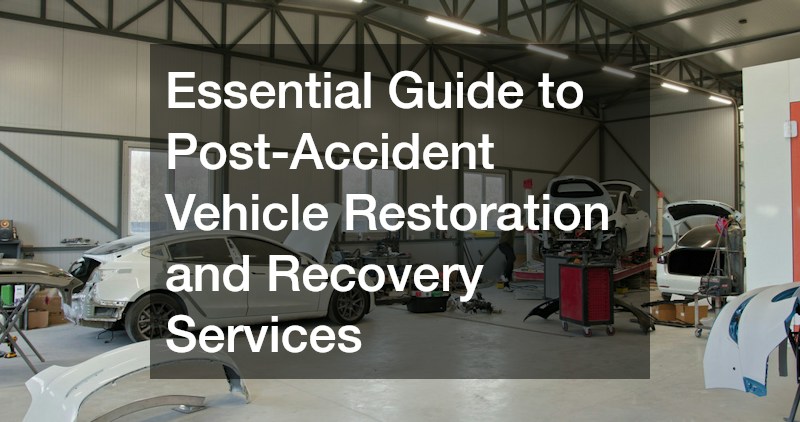
A sudden motor vehicle collision disrupts your daily routine in seconds, leaving behind a chaotic sequence of stress, uncertainty, and safety concerns. Beyond the immediate shock, drivers face a daunting array of technical choices to restore their transport to safe, operable, and visually pristine condition. Returning a vehicle to pre-collision safety standards is rarely a single-step job. Instead, it requires a synchronized, multi-phase effort that spans immediate scene management, complex mechanical overhauls, precise structural realignments, and advanced surface protection.
Navigating this recovery process requires clear, practical guidance. Each decision you make—from the moment the collision occurs to the final inspection before driving home—directs the ultimate safety, performance, and financial value of your automobile. Skimping on early diagnostic steps or rushing structural bodywork can compromise your safety systems and lead to premature mechanical failures down the line.
This comprehensive guide breaks down the post-accident recovery journey into clear, manageable steps. By understanding what happens at every stage of repair, you can confidently navigate insurance conversations, select qualified technical specialists, and ensure your vehicle leaves the shop in optimal condition.
Phase 1: Securing the Crash Site and Arranging Safe Scene Clearance
The minutes immediately following an accident are critical for personal safety and traffic control. During this time, before focusing on mechanical repairs or concerns about panel damage, your primary objective must be securing the surrounding environment to prevent any chance of secondary collisions from occurring. The safety and security of all individuals involved and those approaching the scene should be the top priority.
-
Turn on hazard lights immediately: As soon as your vehicle comes to rest, activate your emergency lights without delay. These flashing lights serve as an immediate visual warning to alert oncoming drivers who might not be aware of the sudden stop or accident ahead. This is especially crucial during conditions of darkness, wet weather, or times when visibility is reduced, as inattentive drivers may otherwise approach too closely or too quickly.
-
Establish a safe safety perimeter: If your vehicle remains drivable after the incident, cautiously maneuver it to the shoulder of the road or into a nearby parking lot, if available, to keep the main flow of traffic open and ensure your safety. In situations where the vehicle is immobile, exit only when you can do so safely. Ideally, place yourself behind highway guardrails or other solid barriers to shield against traffic until it’s safe to return to your vehicle.
-
Set up warning markers: For those prepared with emergency equipment such as reflective triangles or road flares stored in the trunk, utilize these tools. Position them several paces behind your vehicle to provide adequate distance for oncoming traffic to notice and respond appropriately to the potential obstruction. Such precautions are pivotal in preventing further incidents.
Once passengers and yourself are safely out of harm’s way, and emergency personnel have been alerted to the situation, your focus should shift towards clearing the scene responsibly. Procuring the help of emergency road services, which can efficiently manage the scene, is essential to ensure both the safety of the vehicle and the surroundings. These trained professionals can recover vehicles while avoiding additional harm to your car’s frame or drivetrain.
When communicating with dispatch services, provide a detailed account of your vehicle’s condition. Vehicles that are unable to move because of issues such as locked drivetrains, severe wheel misalignment, or structural damage to the frame need specialized handling. Standard towing options might not suffice and could potentially exacerbate damage. Generally, requesting a flatbed tow truck is advisable, particularly for modern vehicles which often come equipped with sophisticated all-wheel-drive systems or lower ground clearance which could be at risk on traditional tow trucks.
Phase 2: Protecting Your Financial Interests and Managing Claims
After ensuring that everyone involved in the accident is safe and the scene has been cleared of hazards, the next critical step is to focus on safeguarding your financial interests and preparing effectively for insurance claims. This phase is paramount because the documentation you carefully gather at the scene becomes the foundation for all insurance coverage decisions and assessments of liability proceeding forward. Thorough documentation helps prevent misunderstandings and disputes, positioning you favourably for a fair resolution.
-
Photograph the scene extensively: It is essential to diligently capture not only the immediate impacts of the crash but also a wide range of visual evidence to accurately document the incident. Take comprehensive photographs that include broad views of the entire crash site, which will provide context. Additionally, document close-ups of the damage to all vehicles involved, as well as any skid marks that may indicate braking or evasive actions. Capture road conditions such as potholes or obstructions, record weather factors at the time of the accident, and ensure any visible traffic signs are photographed, as these can play a crucial role in establishing the dynamics of the accident.
-
Exchange comprehensive information: It is critical to thoroughly gather personal and insurance information from the other drivers involved. This includes securing driver’s license details, insurance policy numbers, phone numbers, and vehicle identification numbers (VINs). Having this detailed information allows for seamless communication and aids in expediting the insurance claims process. Ensure that every detail is accurately recorded to minimize the potential for errors that could complicate claim resolution.
-
Obtain official reports: To substantiate your claims and provide a credible account of the incident, request the badge numbers of the responding police officers and obtain the identification number of the official police report. This report is a valuable piece of documentation that insurance companies will refer to when evaluating your claim. Ensuring that you have a copy of the official report strengthens your negotiating position in the claims process.
Navigating the insurance claims process can quickly become overwhelming, especially when complications such as disputed fault, partial liability claims, or damage that was not initially apparent arise. When faced with complex scenarios, especially those that involve personal injury or significant structural damage to your vehicle, it can be immensely beneficial to consult with a local car accident attorney. Such legal professionals specialize in ensuring that your rights are protected throughout every phase of the process.
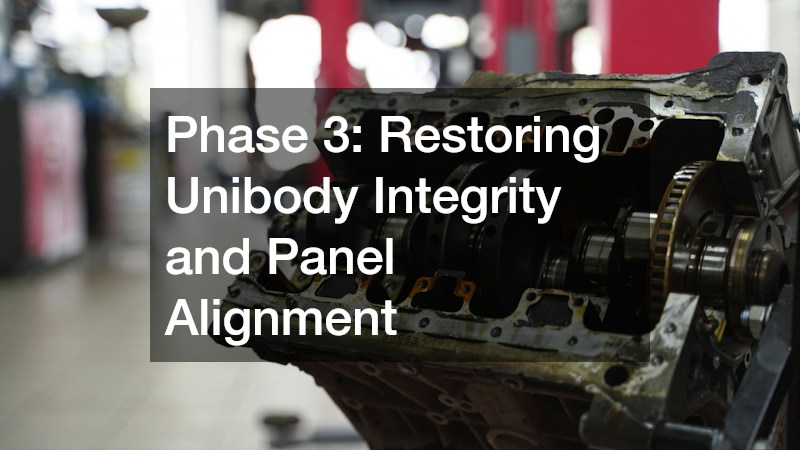
Phase 3: Restoring Unibody Integrity and Panel Alignment
Once your vehicle arrives at a certified repair center, technical restoration begins with the chassis and structural frame. Modern vehicles rely on precise unibody construction, where the body panels and frame form a single integrated unit engineered to absorb crash energy through calculated crumple zones.
Structural repairs require specialized computerized measuring systems. Technicians compare your vehicle’s current geometry against original manufacturer dimensions using ultrasonic or laser measuring equipment. If the frame is misaligned by even a fraction of an inch, door seals will leak, tires will wear prematurely, and crumple zones may fail in a future impact.
Hydraulic frame towers pull and reshape structural steel back to original factory specifications. When frame members suffer severe deformation, compromised sections must be cut out and replaced according to strict manufacturer guidelines. Certified technicians handling auto collision repairs must follow exact welding procedures and heat limits to maintain the metal’s structural integrity.
Proper panel alignment ensures that replacement body components fit seamlessly with existing panels. Precise alignment prevents wind noise, keeps water out of the cabin, and ensures that doors, trunks, and hoods latch securely.
Phase 4: Diagnosing Powertrain Systems and Restoring Mechanical Reliability
While visual damage to body panels and bumpers usually gets the most attention, crash impact forces travel deep into the engine bay and drivetrain. Even minor collisions can crack radiator mountings, bend suspension arms, rupture air conditioning lines, or fracture transmission housings.
A thorough mechanical inspection begins with a complete electronic scan of all onboard computer modules. Collision forces can damage delicate sensors, sever wire harnesses, or cause electrical shorts that don’t immediately throw dashboard warning lights.
-
Suspension and steering evaluation: Technicians inspect control arms, tie rods, struts, and steering racks for hairline fractures or subtle bends that compromise vehicle handling.
-
Cooling system leak checks: Radiators, intercoolers, and fluid lines are pressure-tested to detect hairline cracks that could lead to engine overheating.
-
Drivetrain mount inspections: Motor mounts and transmission supports are checked for torn rubber or cracked metal frames caused by sudden deceleration.
Vehicles equipped with heavy-duty powerplants, such as light trucks and commercial utility vehicles, require specialized mechanical expertise. Complex high-pressure fuel systems, turbochargers, and heavy-duty drivetrains require dedicated care from skilled diesel engine mechanics who understand the precise tolerances needed for heavy work equipment.
Once structural and powertrain repairs are complete, the vehicle undergoes comprehensive auto repairs to replace damaged belts, realign suspension components, flush contaminated fluids, and clear diagnostic fault codes, ensuring original driving dynamics are restored.
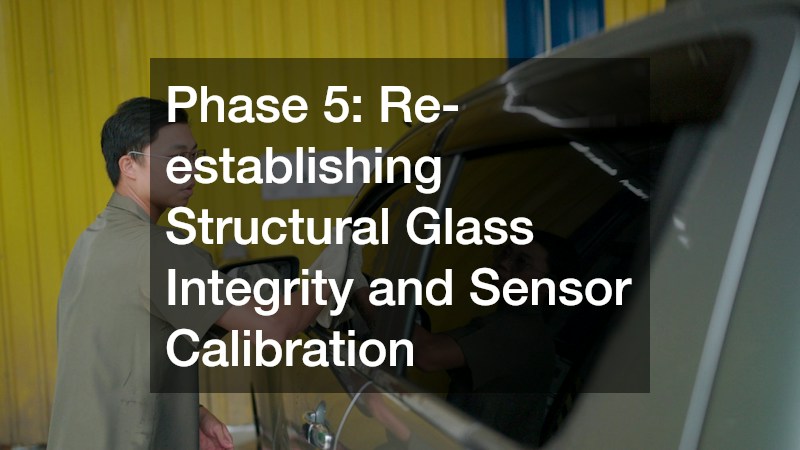
Phase 5: Re-establishing Structural Glass Integrity and Sensor Calibration
Automotive glass does far more than keep wind and rain out of the cabin. Modern windshields are crucial structural elements that support the roof during a rollover crash and provide a backing surface for passenger airbag deployment.
Even minor windshield chips or cracks require prompt professional evaluation from a certified auto glass service. Vibrations from normal driving, temperature shifts, and cabin pressure can cause small cracks to spread rapidly across the glass, compromising the vehicle’s structural integrity.
-
Laminated safety glass repairs: Small chips outside the driver’s direct line of sight can often be stabilized using clear optical resin injections, preventing the crack from spreading.
-
Full glass replacement protocol: Deep cracks, edge fractures, or damage interfering with driver vision demand complete glass removal and installation of original equipment manufacturer (OEM) replacement glass.
-
Urethane adhesive curing: Proper installation requires high-strength polyurethane adhesives applied under controlled temperature conditions to guarantee a waterproof, structural bond.
When safety glass replacement becomes necessary, modern vehicles require an extra, critical calibration step. Most modern vehicles feature Advanced Driver Assistance Systems (ADAS)—including lane departure warnings, automatic emergency braking, and adaptive cruise control—that rely on optical cameras mounted directly behind the windshield.
Completing car windshield replacements on these vehicles requires precision sensor recalibration. Technicians use specialized targets and computer diagnostic tools to calibrate camera angles to millimeter accuracy. Uncalibrated cameras can misjudge distances, leading to false safety alerts or system failures when you need them most.
Phase 6: Protecting Fresh Automotive Paintwork and Resale Value
The final stage of post-accident restoration focuses on restoring your vehicle’s exterior appearance, matching factory paint finishes, and protecting the new surfaces against environmental wear.
Achieving a seamless paint match requires computerized spectrophotometers that analyze your vehicle’s existing paint shade, accounting for sun fading and factory color shifts. Technicians spray test panels under controlled lighting to verify color accuracy before applying paint to the repaired panels.
The refinishing process follows a rigorous multi-coat system:
-
Surface preparation: Repaired panels are sanded, cleaned of all oils, and treated with corrosion-resistant primers.
-
Basecoat application: Multiple coats of color-matched base paint are applied in a climate-controlled spray booth to eliminate dust contamination.
-
Clearcoat sealing: A durable, high-gloss clearcoat is sprayed over the basecoat to protect the color layer from ultraviolet light and chemical exposure.
-
Curing and polishing: The new paint is baked under infrared heat lamps, then wet-sanded and polished to match the texture and gloss of the original factory finish.
Once the new paint has fully cured, applying protective coatings helps preserve the finish and safeguard your vehicle’s resale value. Installing paint protection film over vulnerable front surfaces—such as the hood, bumper, and side mirrors—creates an invisible urethane barrier that absorbs impacts from stone chips, gravel, and road debris.
For long-term gloss and ease of maintenance, applying an auto ceramic coating creates a permanent hydrophobic bond with the clearcoat. This liquid polymer layer repels water, mud, bird droppings, and industrial fallout, keeping your freshly restored vehicle looking showroom-new for years to come.
Using This Guide for Post-Accident Auto Repairs
Restoring a vehicle after an accident is a comprehensive process that goes far beyond simple cosmetic repairs. By systematically working through each phase—from immediate scene management and legal protection to structural frame alignment, mechanical repairs, glass replacement, and final paint protection—you preserve your vehicle’s safety, performance, and long-term value.
Choosing certified repair facilities that follow original equipment manufacturer guidelines ensures that every component is restored to precise factory standards. Keeping complete records of all inspections, repairs, and recalibrations provides valuable proof of quality craftsmanship, protecting your investment and offering true peace of mind when you get back behind the wheel.